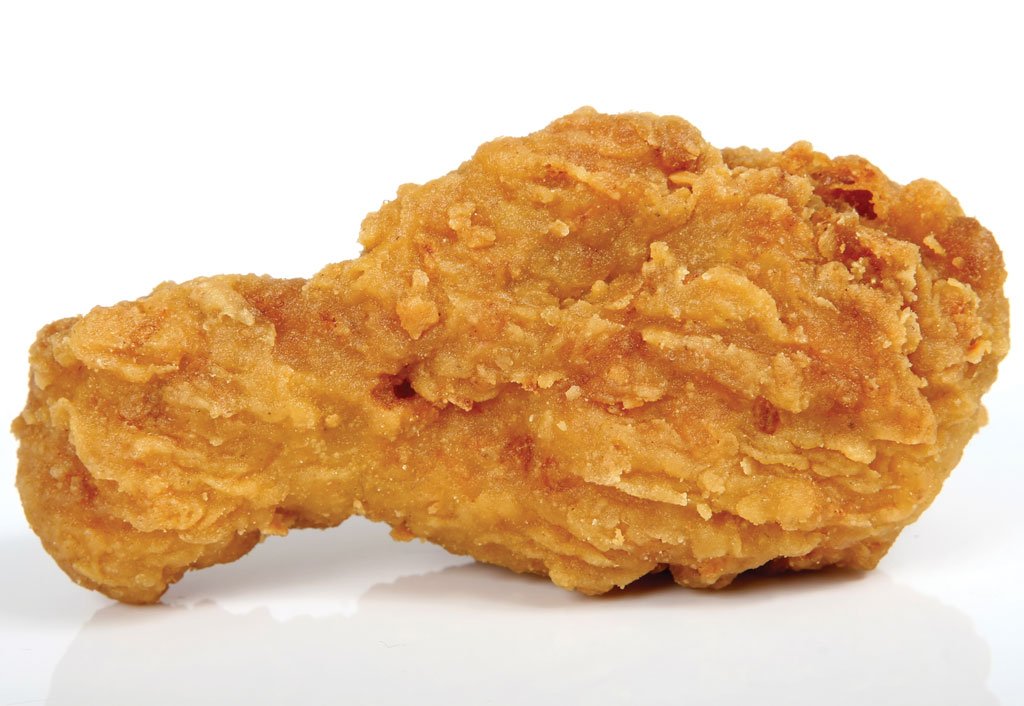
Pressure frying elevates the art of chicken preparation. Combining high heat, pressure, and a seasoned coating results in chicken that is incredibly crispy on the outside and moist and flavorful on the inside. Whether you’re a fan of classic Southern fried chicken or prefer a unique twist on this timeless dish, understanding the science and benefits behind pressure frying can help you achieve the perfect fried chicken every time.


The Benefits of Pressure Frying Chicken
Pressure frying offers several advantages over traditional frying methods:
Faster Cooking
The combination of high heat and pressure significantly reduces cooking time, making pressure frying an efficient method for preparing large batches of chicken.
Tenderization
The heat and pressure help to break down connective tissue within the chicken. Modern poultry is not as tough as the birds from Colonel Sanders’ days. This is why Winston’s Collectramatic fryers can operate at lower temperatures and pressures than some of our competitors’ fryers.
Improved Moisture Retention
The sealed environment of the pressure fryer traps moisture within the chicken, resulting in juicier meat.
Crispy Crust
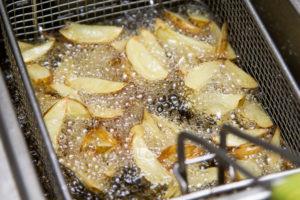
The pressurized oil penetrates the chicken’s surface, creating an exceptionally crispy crust that’s hard to achieve through traditional frying.
Healthier Product
Pressure prevents chicken from being saturated by oil. By its nature, it’s hard to claim that fried chicken is a healthy food. But compared to open frying, pressure-fried chicken contains less fat, because it absorbs less oil.
Consistent Results
Pressure frying provides consistent results, ensuring that each piece of chicken is cooked to perfection.
How Does Pressure Frying Chicken Work?
Pressure frying is a cooking method that combines the principles of deep frying and pressure cooking. It involves sealing chicken in a specialized pressure fryer and subjecting it to both high heat and pressure. The result is an exceptionally crispy exterior and succulent, flavorful interior that sets pressure-fried chicken apart from its conventionally fried counterpart.
Here’s how pressure frying works step by step:
1. Preparation: Before the chicken is placed in the pressure fryer, it is coated with a seasoned batter or breading. This adds flavor and helps create the crispy crust that fried chicken is known for.
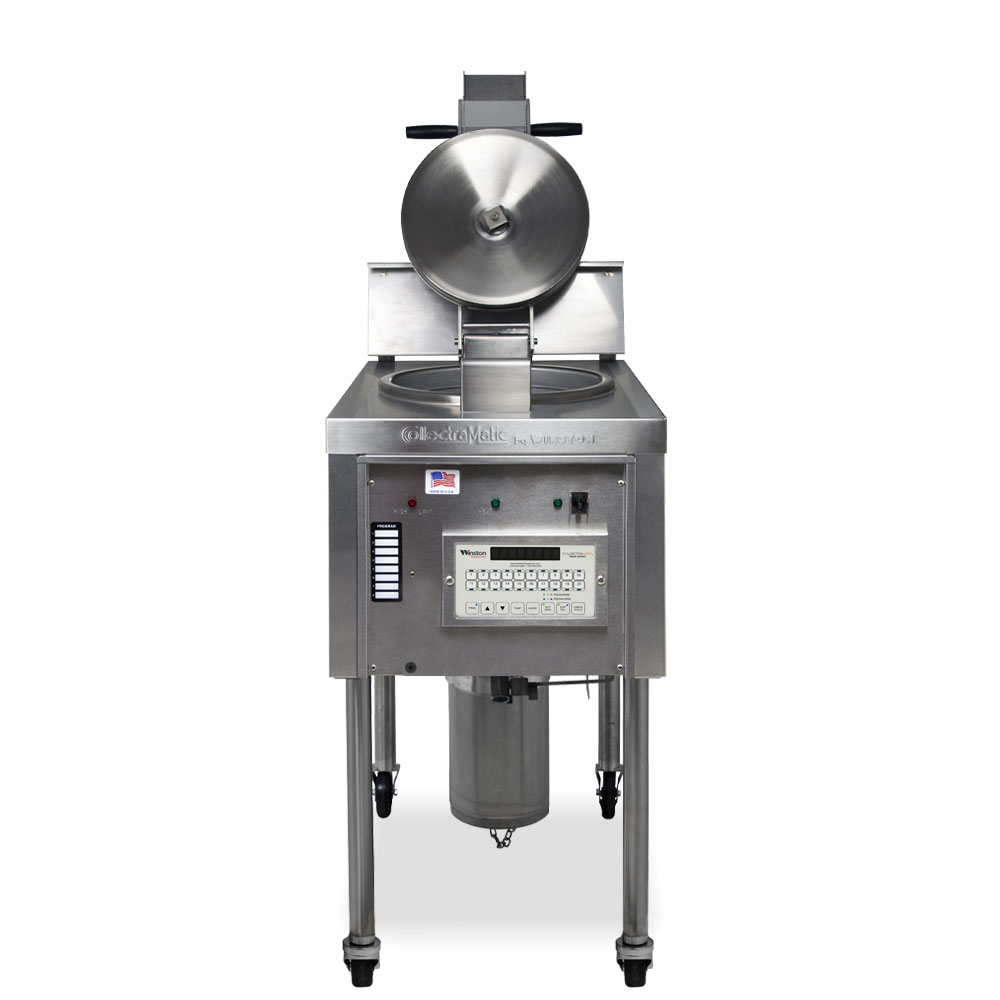
2. Sealing the Pressure Fryer: The pressure fryer is designed to be airtight. Once the chicken is loaded inside, the fryer is sealed tightly to prevent any steam or pressure from escaping during the cooking process.
3. Heating: The pressure fryer is equipped with heating elements, which can be electric or gas-powered (Winston’s Collectramatic® Fryers are exclusively electric). As the fryer heats up, it raises the temperature of the oil inside, typically to around 350-375°F (175-190°C).
4. Pressurization: Once the oil reaches the desired temperature, the pressure increases inside the fryer. This is achieved by trapping the steam generated by some of the chicken’s moisture escaping into the sealed environment. The pressure can reach anywhere from 5 to 12 psi (pounds per square inch), depending on the fryer’s design.
5. Cooking: The combination of high temperature and pressure cooks the chicken quickly and evenly. The pressure forces the hot oil into the chicken’s pores, resulting in a crispy exterior. Meanwhile, the chicken’s internal moisture creates an opposing pressure against the oil. This prevents the chicken from being saturated with oil, making the crispy exterior and juicy (but not greasy) interior possible. The high heat ensures that the chicken cooks thoroughly, sealing in its natural juices and flavors.
6. Depressurization: At the end of the cook cycle, the pressure fryer is depressurized gradually. This is an essential step to prevent the rapid release of pressure, which could cause the hot oil to splatter and potentially be dangerous.
7. Draining and Resting: Once the pressure is fully released, the chicken is carefully removed from the fryer and allowed to drain on a rack. This step helps remove excess oil and ensures that the chicken remains crispy.
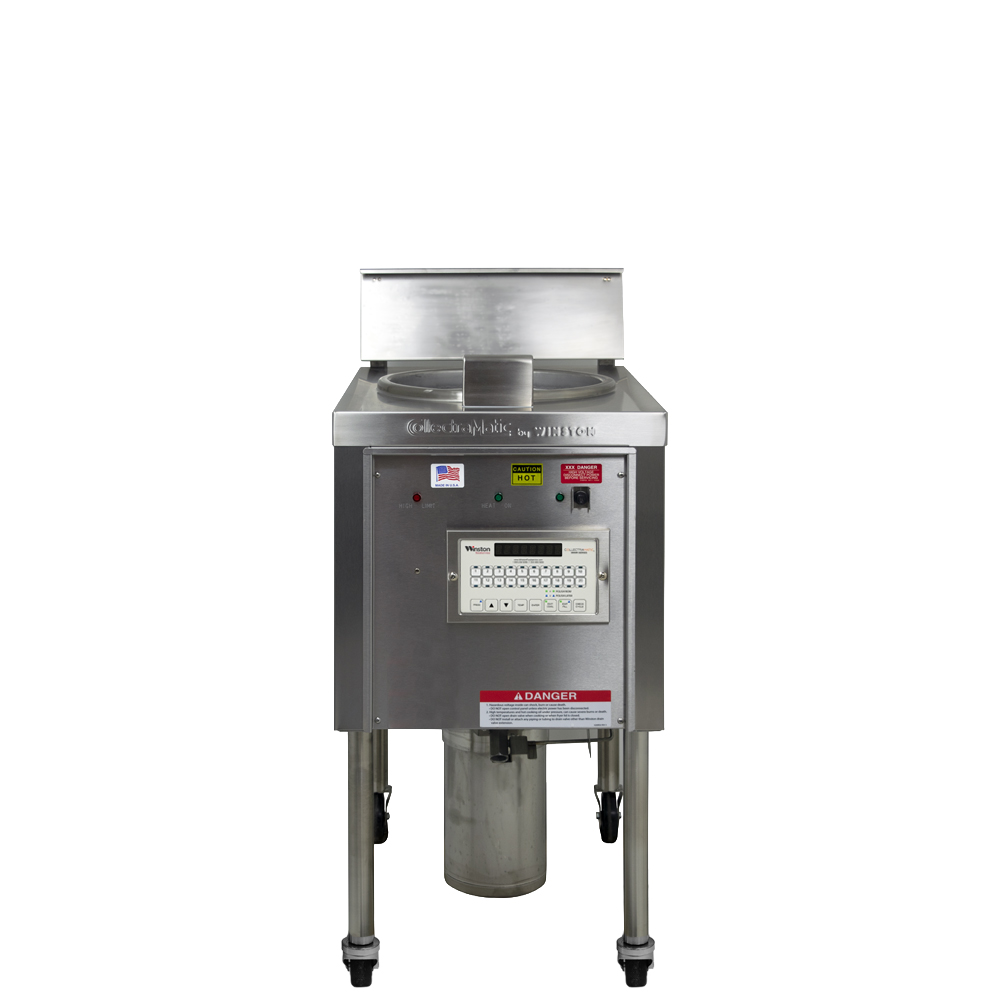
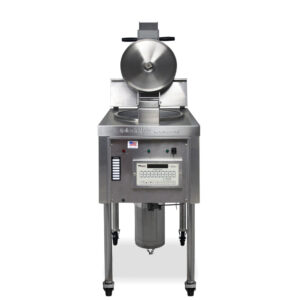
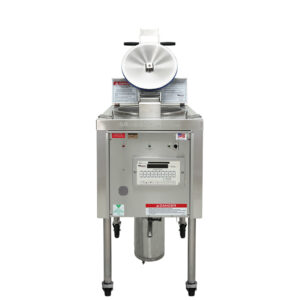
What are the Features of a Winston Collectramatic Pressure Fryer?
Let’s look at the features and benefits of our Collectramatic Pressure Fryers. Available in 4-head (32 pieces per drop) and 6-head (48 pieces per drop) configurations.
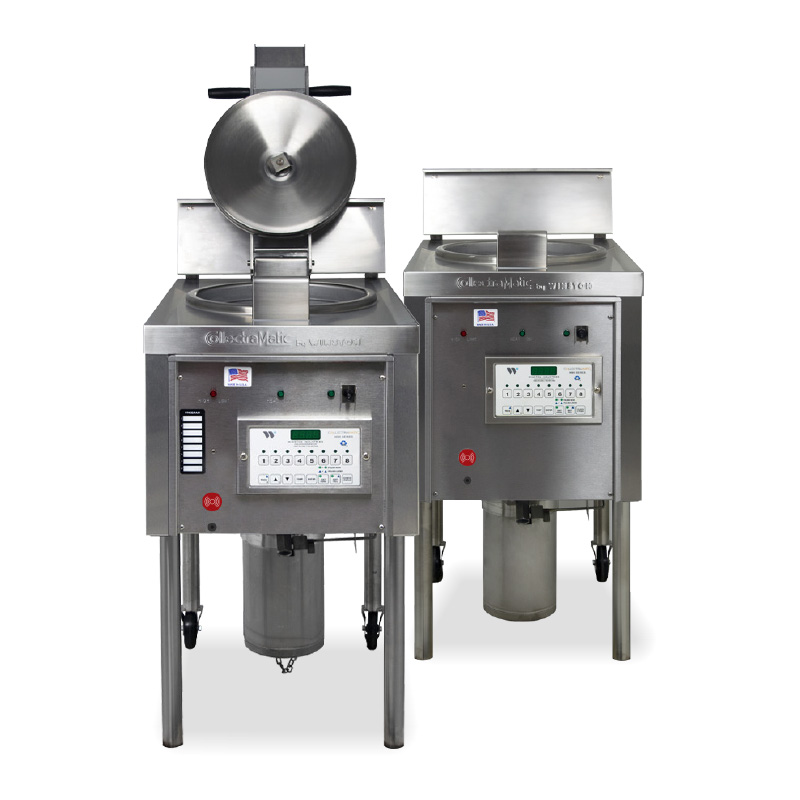
- Microprocessor Controller: This programmable control makes the cooking process easy. Simply press start, and the fryer does the rest.
- Reliability – Collectramatics have very few moving mechanical parts to wear out or break. Maintained properly, Collectramatic Fryers can last over 20 years.
- Round pot – The round pot has inherent strength with a single weld. There are no corners. Without corners, sediment cannot build up and continue to cook and burn the oil.
- Footprint – It’s all in the numbers. With an LP56 fryer 6-head, you can fry approximately 192 pieces per hour and 1,200 pieces before you need to filter the shortening. Our collector, the largest in the industry, catches all the sediment from the cooking vat, so it does not continue to cook.
At a recent training, with an install of three LP56 Collectramatic fryers, the customer was able to pressure fry 576 pieces per hour and 3,600 pieces before they needed to filter the shortening.
To really boost your program, partner your fryer with a Winston Shortening Filter and a CVap® Holding Cabinet or two, and now you have a fried chicken program sure to bring the hungry crowds through the door!