A unique way to make pickled peppers is by using a CVap Cook and Hold Oven. The preservation of food is an important part of human history. In reality, people have been pickling for thousands of years out of necessity. But with the convenience of a quick trip to the grocery store, the need for food preservation is no longer critical to survival. Pickling is done for the flavor rather than the need. This culinary technique also allows chefs to extend the seasons of some of their amazing dishes.
Preservation is a major trend in the culinary world. Canning or jarring vegetables or fruits is a tedious challenge for some. It is equally difficult to manage all the glass jars and lids in a kitchen. What CVap does is remove the conventional boiling step from the equation. By doing so, it makes pickling much safer and easier than the traditional method.
Many factors are involved when canning items. For example, the level of acidity will affect your finished product. Excessive exposure to light can influence the quality of your preserve. Even the altitude of the region you are in can cause possible problems when you are pickling food.

When you use CVap technology for preservation, you get the advantage of precise and accurate settings. Program your oven to the exact temperature you require and cook time to set the perfect canning scenario. Use the process below to use a Cook and Hold Oven to can pickled peppers.
The Pickled Pepper Recipe
Ingredients
- 6 cups of hot peppers, sliced
- 3 cloves of garlic, peeled and halved or crushed
- 2 tablespoons sugar
- 3 cups 5% acidity vinegar (any kind, I used white)
- 2 cups of water
- 2 tablespoons of Kosher salt (or canning salt)
- Ball Pickling Crisp (optional)

Instructions
- Wash the jars, lids, and rings well with hot water and dish soap.
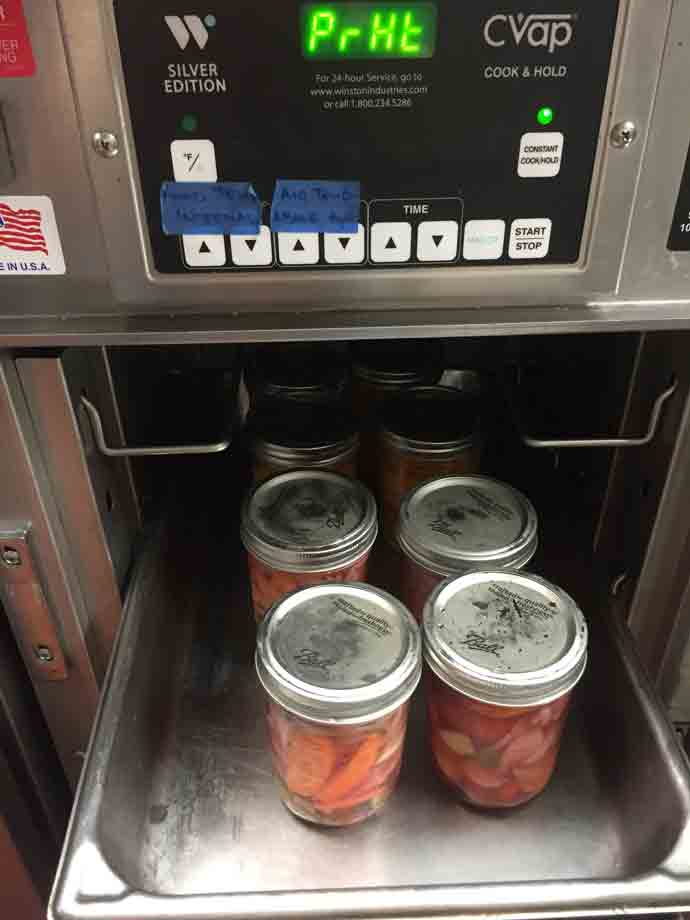
- Set the Cook & Hold to 200°F Vapor Temperature/240°F Air Temperature.
- Loaded all the jars, open, facing up into the unit. In that same pan, place all the lids and bands for sanitation purposes.
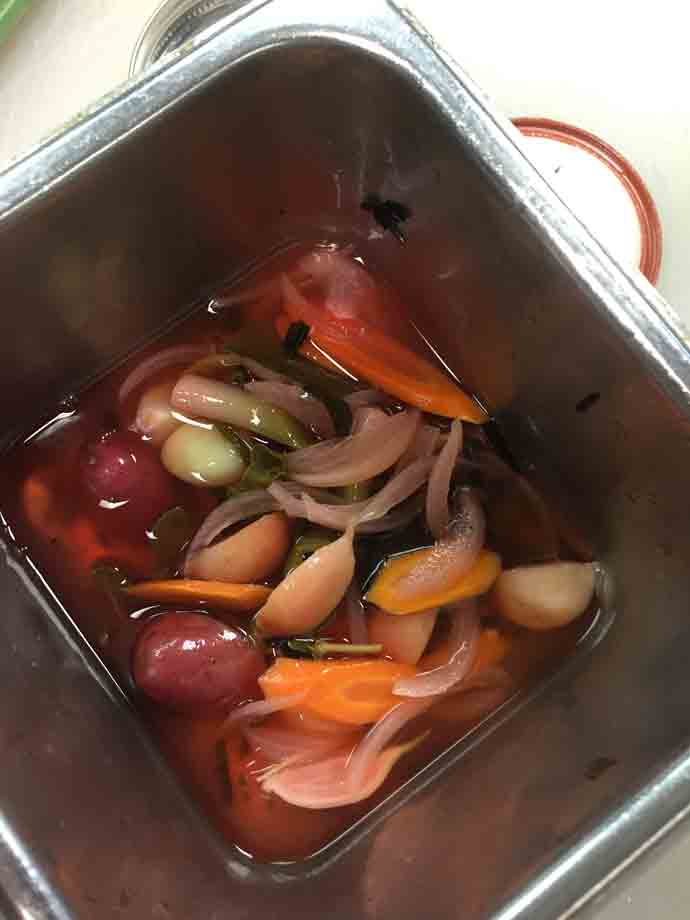
- Pack the hot peppers into the jars and add one clove of garlic to each jar. Feel free to push the peppers in a bit and pack them tight, but make sure to leave about an inch of space at the top. If you chose to use pickling crisp, now is the time to add it to each jar. Add 1/8 of a teaspoon to each pint jar or 1/16 of a teaspoon to each half-pint jar.
- In a small pot, add the vinegar, water, kosher salt, and sugar. Set the pot on the stovetop and turn the heat to medium-high. Bring the mixture to a boil and let it boil for a couple of minutes before removing from the heat.
- Ladle the hot pickling liquid over the hot peppers, make sure to leave 1/2 – 1 inch of space at the top. Use the bubble remover to remove bubbles by scraping them along the inside of the jar. Then, use a clean, damp paper towel to clean the rim of the jar before centering the lid and closing the jar with the ring finger tight.
- Load the jars back into the CVap for the processing step.
Remove the jars from the CVap and let them cool at room temperature for 24 hours. Verify that the lids did not bubble and store the pickled peppers for about a week in a dimly lit room. Once you have completed all of these steps, the peppers are free to enjoy.